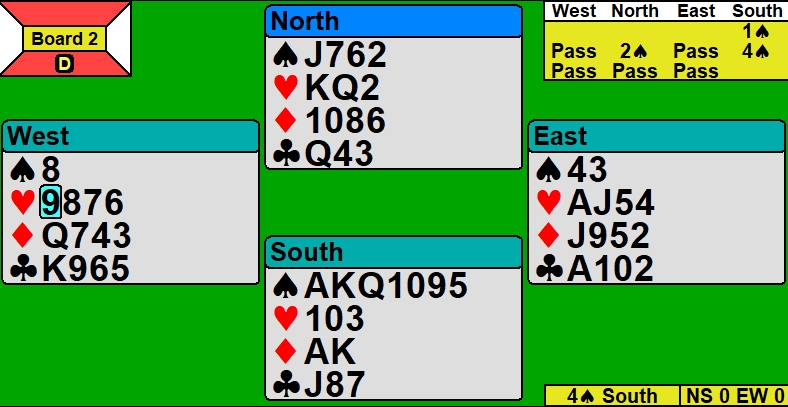
South goes to 4 against which your partner leads the 9. Dummy plays the king. And you?
Choose One:
4
5
J
A
Revoke
Answer: 4 -
A. There is no reason to duck. For all you know, partner has led the 9 from 98763 and declarer has a singleton 10. You might as well capture this trick.
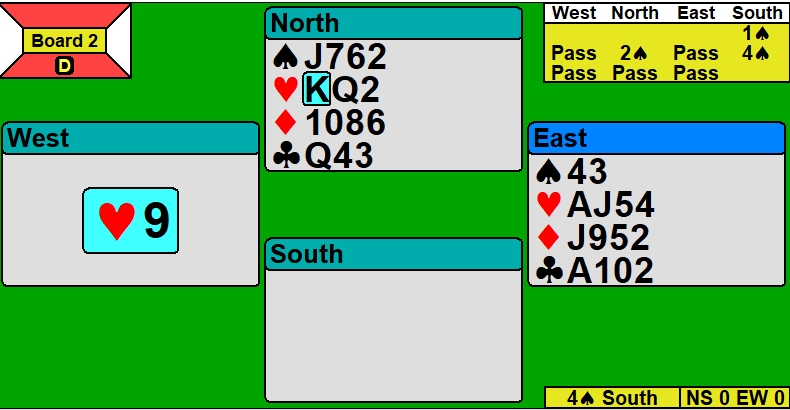
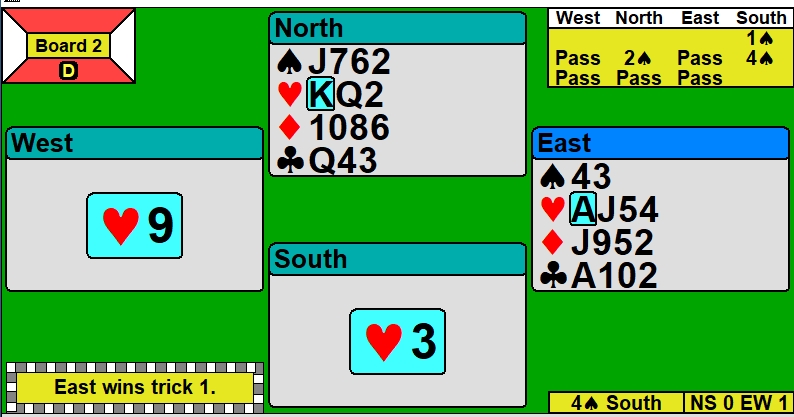
Declarer follows with the 3 as shown. What do you play at trick 2?
Choose One:
A
10
2
4
J
Answer: 7 -
.
Anything else is fraught with danger. From the opening lead of the 9, you know partner doesn't have the 10 (partner would have led the 10 from 10-9). Since declarer might remain with 10x (partner might have led the 9 from 987), it is dangerous to continue the suit. True, declarer might be left with a singleton 10 and you could play the jack to smother it, but why take the risk? There is no upside to playing a heart.
A diamond play is also dangerous (picture declarer with KQ3 or AQ3, for example). With the 10 in dummy, a diamond lead is not safe.
Laying down the A is extremely risky. What if declarer has Kx or Kxx? Declarer would get 2 club tricks. Banging down the A will also cost if declarer started with xx or xxx -- you will set up dummy's queen. Lastly, declarer could have the J and your partner the king--and again breaking clubs will cost. There is no good reason to touch clubs. If declarer has a club loser, where is it going? That's a rhetorical question.
There is no reason to "grab." Just play a safe trump and wait. This is the full deal:
In the goodness of time, declarer will have to play clubs himself and will go down (he should lose 3 club tricks). At trick 2, you would have survived a low diamond or the J, but not on another day. Why take the risk?

 43
43  AJ54
AJ54  J952
J952  A102
A102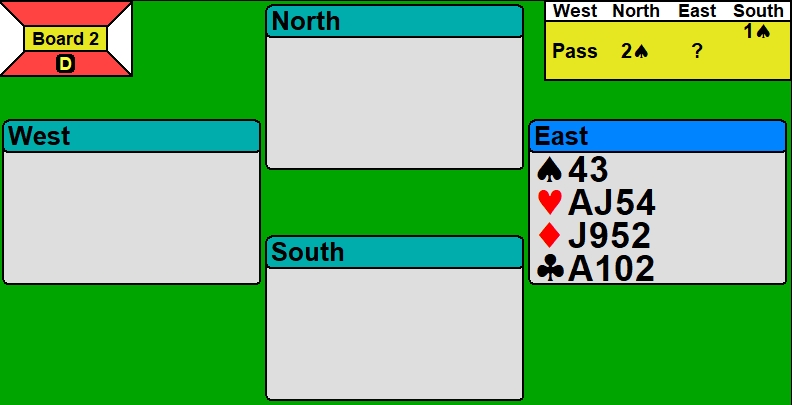
 Back
Back