
With both sides vulnerable, you hold as West:
 K2
K2  QJ108
QJ108  Q43
Q43  K1062.
RHO (South) opens 1 and it is up to you.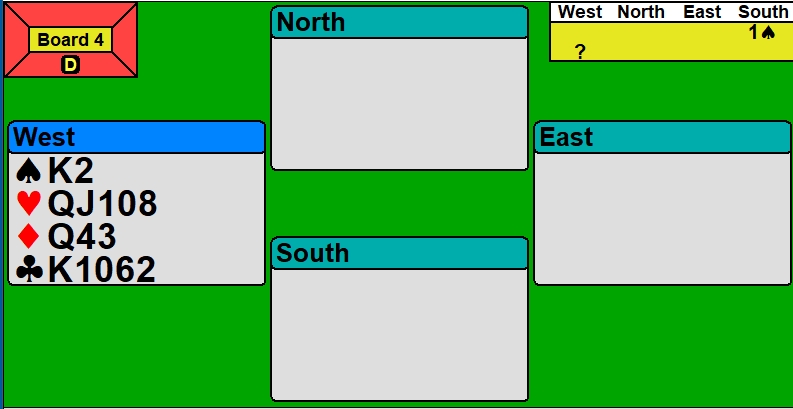
Pass
Double
Other
LHO bids 2NT (Jacoby--GF raise) and RHO bids 4 to show a flat minimum (no singletons or voids).
Here is an easy opening lead problem: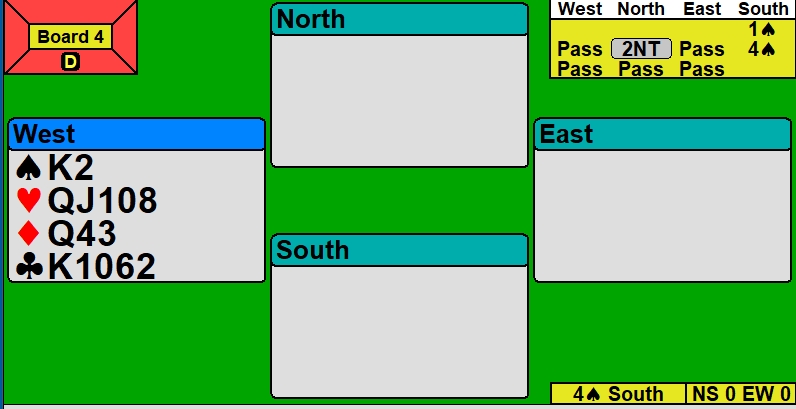
Q
J
10
8
Declarer wins your heart lead in dummy as shown below.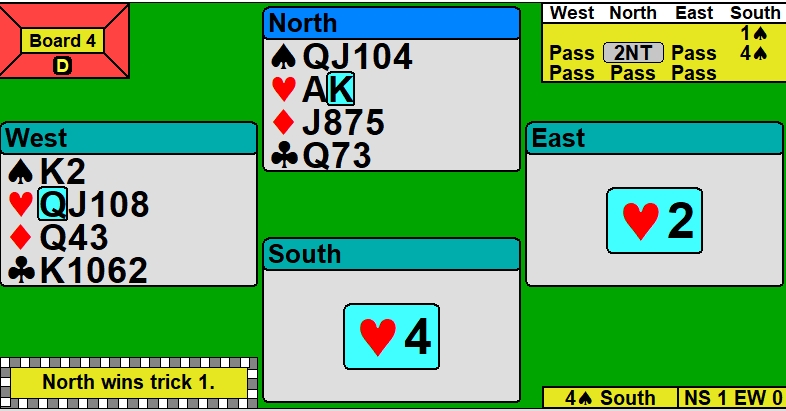
Then, he cashes another heart and leads the Q around to your king as shown: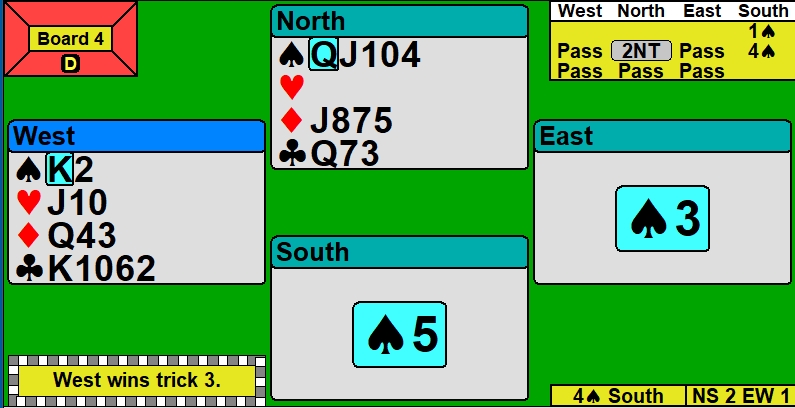
And now?
2
K
3
Q
Below is the full deal: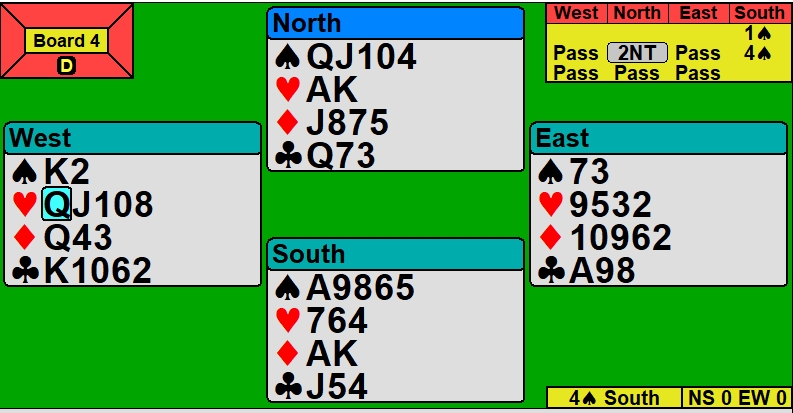
Declarer won the heart lead and cashed another heart. He then took a spade finesse and you won and played a second spade.
It turns out that another heart or diamond would have not cost, but why take the chance?
A club lead certainly would cost a club trick.
Which statement is true?
After your safe play, declarer has to go down.
Even though you defended as well as possible, the contract can still make.
 Back
Back